Imaging
|
|
Final Project
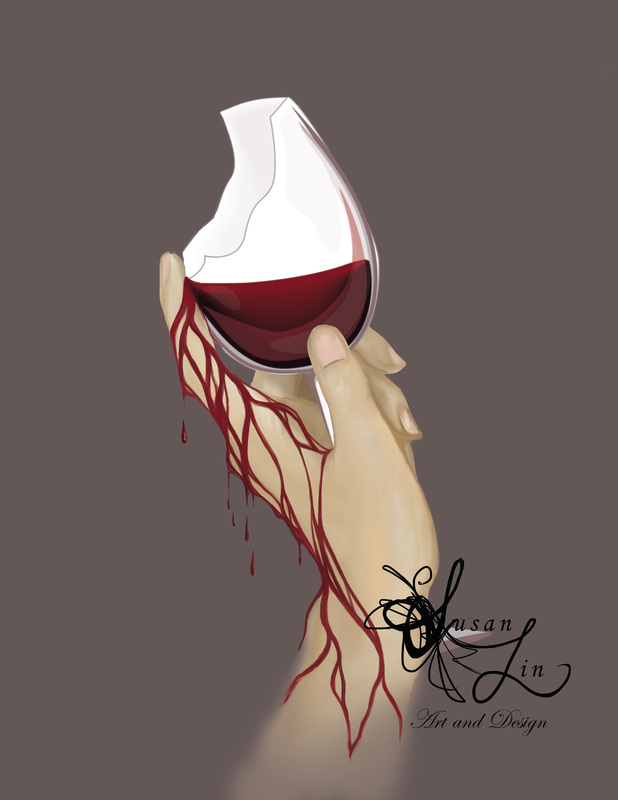
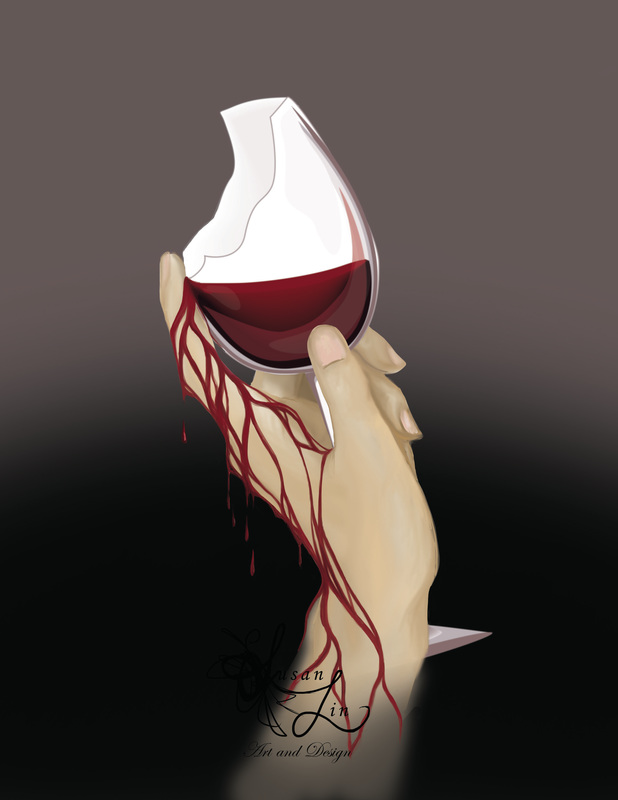
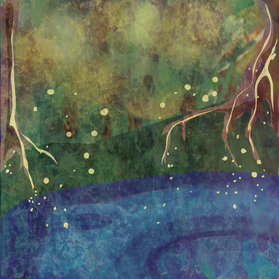
1/19/2015 We got to choose our final project, as long as it used the time-frame of two weeks. I chose to do a digital-painting like project, from an idea I had come up with a while ago. |

|
Side Project: Posters for a Fundraiser
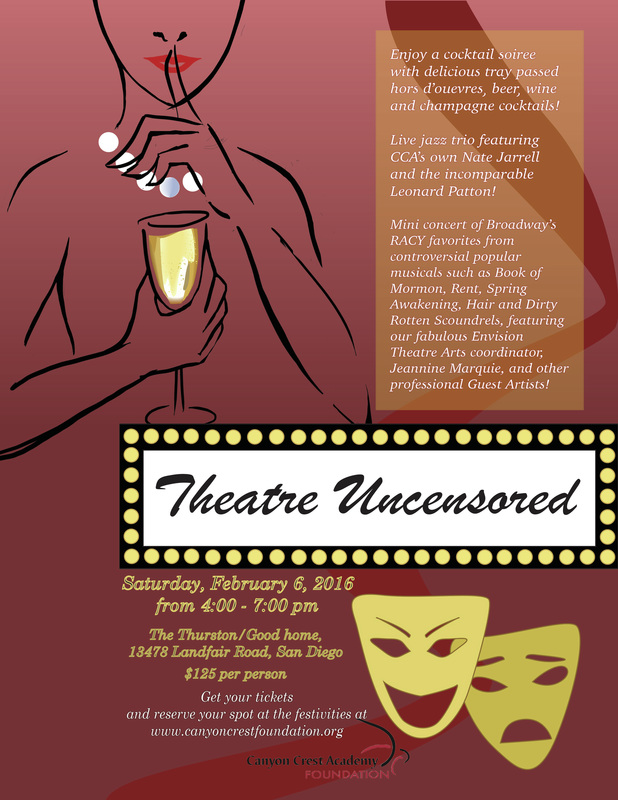
1/5/2015 (middle) and 1/12/2015 (right) To the middle is the process of the creation of a poster for a tea party fundraiser. And the last one is the final version. To the far right is a poster I made for a theatre fundraiser. |
|
|
Tenth Project: Infographic
12/18/2015
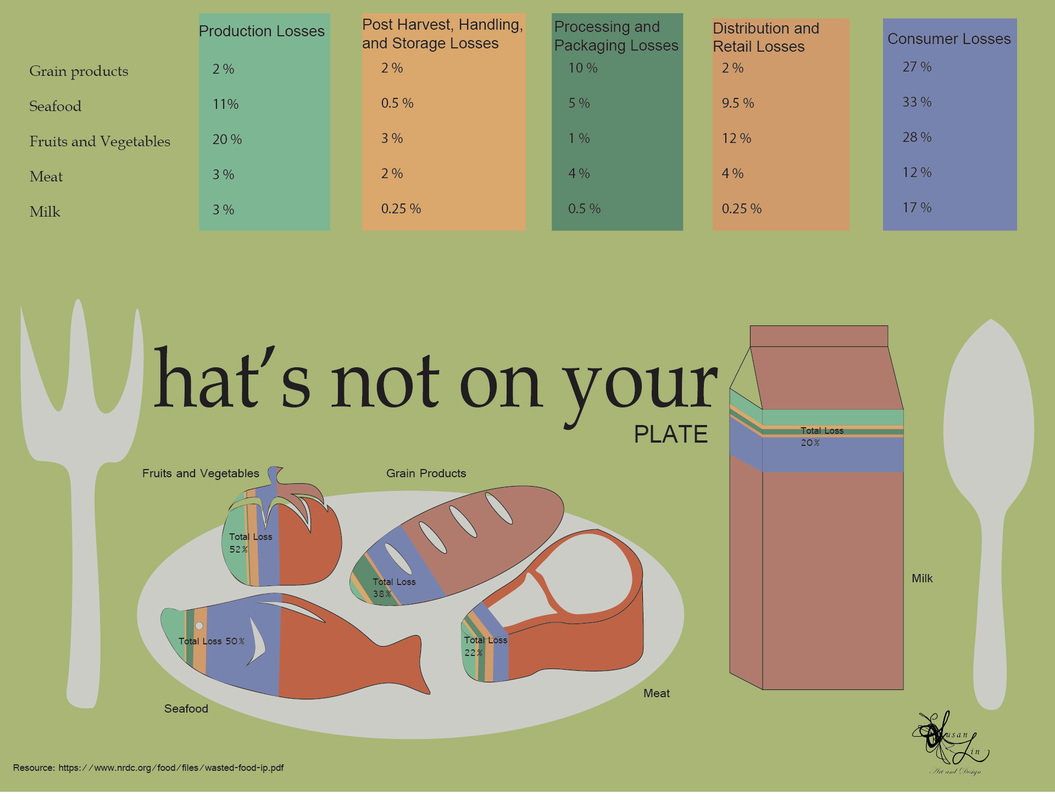
I created an infographic using adobe illustrator on food waste. My main resource was https://www.nrdc.org/food/files/wasted-food-ip.pdf Though the percentages are calculated collectively for USA, Canada, New Zealand, and Australia, that amount of food we waste is shocking. About 40% of the US food supply is wasted, and in the US, about 14% are food insecure households. In the world, about 1/3 of the food produced is lost or wasted.
12/18/2015
I created an infographic using adobe illustrator on food waste. My main resource was https://www.nrdc.org/food/files/wasted-food-ip.pdf Though the percentages are calculated collectively for USA, Canada, New Zealand, and Australia, that amount of food we waste is shocking. About 40% of the US food supply is wasted, and in the US, about 14% are food insecure households. In the world, about 1/3 of the food produced is lost or wasted.
|
|
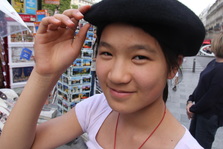
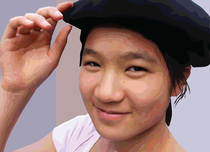
Ninth Project: Vector Portrait
12/04/2015 I first edited the raw photo (furthest left), and then I used adobe illustrator, to create the vector portrait. I mainly used the pen tool and the dropper tool. |
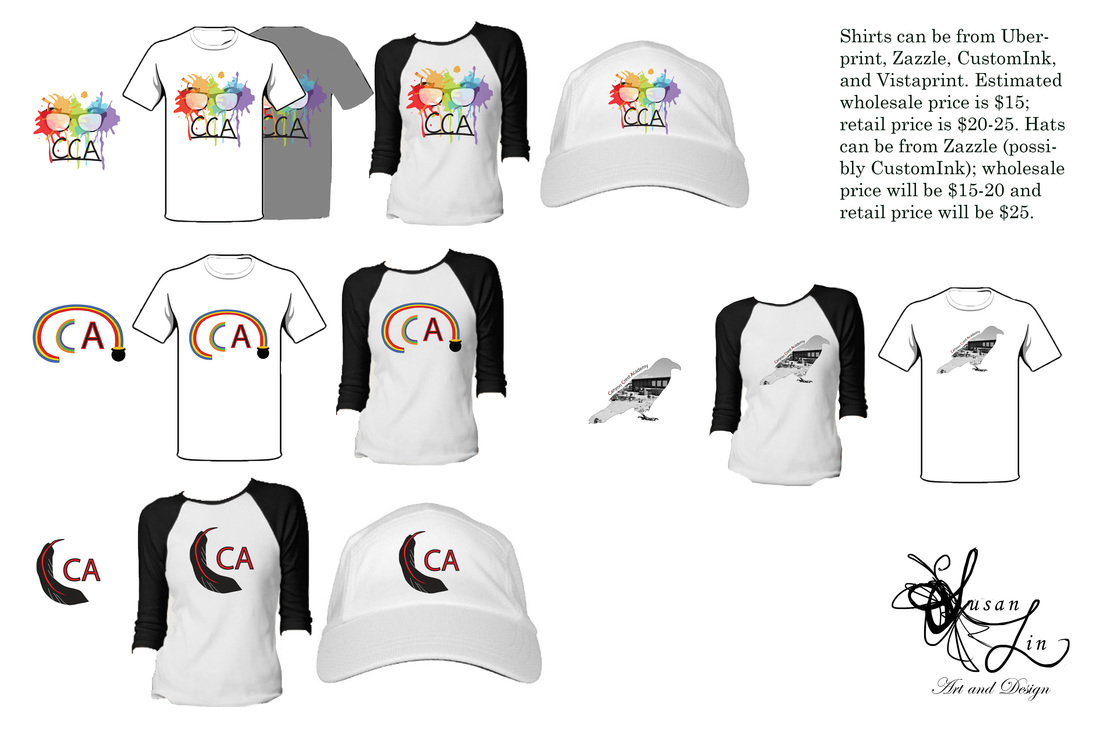
Eighth Project: T-shirt Design for School
11/13/2015
Using Adobe Illustrator and Photoshop, I created several logos and designs for our school. We took our clients into consideration, and also did some interviewing of the clients (students mainly). After designing some ideas, we searched up clothing brands, etc. and made a line sheet to show what kinds of clothing we wanted these designs to go on.
|
|
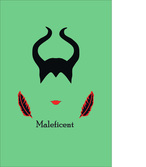
Seventh Project: Alternative Movie Posters
10/19/2015
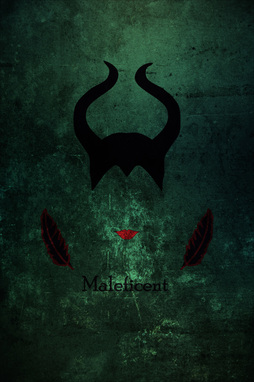
Using Adobe Illustrator and Adobe Photoshop, I created several alternative movie posters for the movies Maleficent, Alice in the Wonderland, and Now You See Me. I did most of the work in Adobe Illustrator (and Now You See Me poster was entirely from Illustrator), but for some of the movie posters, I added a grunge texture. All of my color schemes were considered beforehand. My favorite is the Maleficent poster in the center below--if you've watched Maleficent you'll know more of the reference to the feathers representing her wings and her red lips I drew; and on the bottom right is a slideshow of my four movie posters.
10/19/2015
Using Adobe Illustrator and Adobe Photoshop, I created several alternative movie posters for the movies Maleficent, Alice in the Wonderland, and Now You See Me. I did most of the work in Adobe Illustrator (and Now You See Me poster was entirely from Illustrator), but for some of the movie posters, I added a grunge texture. All of my color schemes were considered beforehand. My favorite is the Maleficent poster in the center below--if you've watched Maleficent you'll know more of the reference to the feathers representing her wings and her red lips I drew; and on the bottom right is a slideshow of my four movie posters.
|
Draft for another idea

Maleficent Poster without grunge texture
|
|
|
|
Small Practice Project
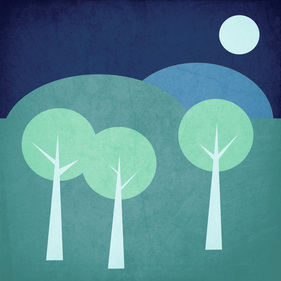
10/07/2015 After doing a tutorial landscape (left), I created my own landscape (right). I first used Adobe Illustrator and used Adobe Photoshop to add the grunge texture. |
|
Sixth Project: Patterns on Products/Objects
10/02/2015 Using adobe photoshop and the techniques of displacement, layer masks, blend modes, etc., I made photos of products with many patterns (previously created). |
|
Fifth Project: Beginning Pattern, 4 Patterns, and Watermark 9/25/2015
We were to make a practice pattern (labeled below in gallery), and 4 patterns and a watermark. I ended up doing 1 practice pattern plus 5 patterns.They are below.
We were to make a practice pattern (labeled below in gallery), and 4 patterns and a watermark. I ended up doing 1 practice pattern plus 5 patterns.They are below.
|
|

|
Fourth Project: Groups of 4 Photos
9/21/2015
Basically, our class divided into groups of four and took photos of each of us (and some props/backgrounds) before editing and compositing photos into a set of 4 photos per person. I used the skills I learned in this class for the photos. My four finished photos are in the left slideshow, and the 4 group photos are in the right slideshow.
|
|
|
|
Third Project: Turn a photo into a drawing
9/4/2015 In adobe photoshop, I used four main layers: 4) copy of background; desaturate; filter--sketch--charcoal; multiply 3) copy of background; desaturate; filter--stylize--glowing edges; invert; multiply 2) copy of background; black& white; color dodge; invert; Gaussian blur 1) Background (unaltered) then I did a few minor edits to lighten the darks using layer masks and opacity of the brush. |
Before
|
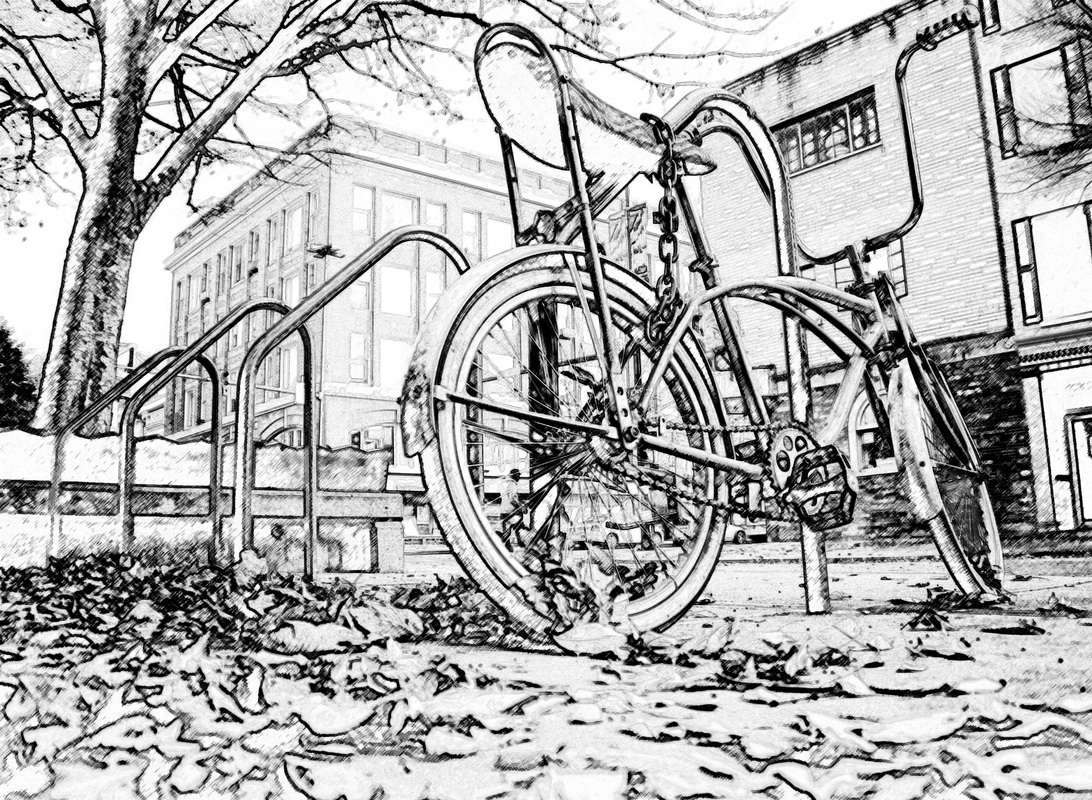
After
|

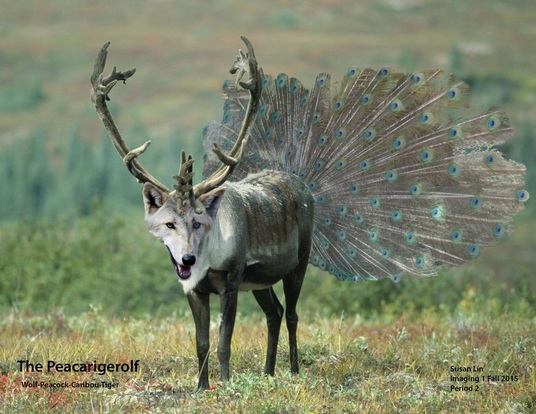
Second Project: Tri-Animal (The Peacarigerolf)
9/3/2015 Draft (above) Final (right) |
|
Using Adobe Photoshop, I placed the wolf's head, tiger stripes (only on final), and peacock feathers on the caribou picture; then using layer masks, I removed the unnecessary areas. The peacock feathers took a really long time to select out, since they were so detailed. Then, using overlay, I blended the wolf head and tiger stripes into the body. Afterwards, I adjusted brightness and shadows of the wolf head, body, and peacock feathers by using black paint and opacity, and image adjustments (brightness/contrast, levels, and curves). I also field-blurred out the peacock feathers a few pixels because they were too bright and messed with the perspective.
|
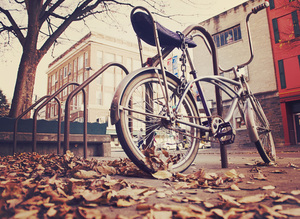
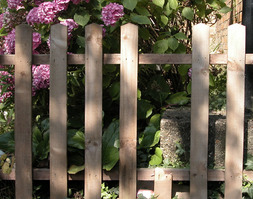
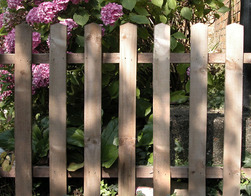
First Project: Fixing the Fence.
We used Adobe Photoshop, and its selection and levels/curves tools. 8/27/2015 Before (left) After (Right |
|
|
